
Chesterfield Winter Interior Projects: Painting, Cabinet Refinishing, and Floor Updates That Shine in Cold Weather

Short days and cold nights make winter in Chesterfield a perfect season for inside-the-house upgrades. Crews are easier to schedule, low-humidity heated air helps coatings cure fast, and you avoid competing with spring exterior rushes. If your living room paint looks tired, your kitchen cabinets feel dated, or your wood floors have lost their glow, winter is often the most efficient—and comfortable—time to tackle them. This guide explains why cold-weather timing is your friend, how to plan around temperature and humidity, and which interior projects deliver the highest visual impact before patio season returns.
If you’re exploring a bigger kitchen plan beyond paint, you can review options here: Kitchen remodeling services.
Why winter favors interior work in Chesterfield homes
Stable indoor climate
Furnace heat dries interior air to a predictable range, which helps paint, clear coats, and adhesives cure consistently. With windows closed, there are fewer drafts to carry dust onto wet surfaces.
Faster scheduling
Exterior work slows in winter, so professional crews can allocate more time to interiors. That means quicker starts, tighter timelines, and less juggling around outdoor jobs.
Less disruption
Holiday décor is packed away, kids are back in routine, and entertaining moves indoors. It’s easier to stage rooms, sleep in guest spaces for a night or two, and keep pets out of work zones.
Early spring payoff
Finish your interior list now and you’ll be ready to open the windows and focus on outdoor projects when temperatures climb.
Interior painting: cold-weather best practices for flawless results
Winter painting succeeds when temperature and humidity are controlled, surfaces are clean, and each coat gets time to cure.
Dial in temperature and humidity
Aim for 62–72 °F in active work areas and keep indoor relative humidity around 40–50 percent. Warm, dry air speeds waterborne products without causing them to “flash” and leave lap marks.
Choose winter-friendly coatings
Low-VOC acrylics and hybrid alkyds level beautifully in heated homes and reach scuff-resistant hardness within days. In living spaces—family rooms, bedrooms, hallways—satin and eggshell provide a washable surface with a gentle, designer-level glow.
Prep that elevates the whole job
Dust control matters more in winter with windows closed. Pros cut dust by pole-sanding with HEPA vacs, wiping walls with microfiber, and sealing returns. Small drywall repairs (nail pops, hairline cracks) are easy wins that create a crisp, uniform look when light hits at low winter angles.
Work the plan room by room
Start with the spaces you use least, then progress to high-traffic rooms so you always have places to relax in the evening. Bedrooms and offices are ideal weeknight projects; living rooms and stairwells fit weekend schedules.
Want a deeper dive on what actually drives estimates (without listing prices), skim this companion resource: Interior painting cost factors.
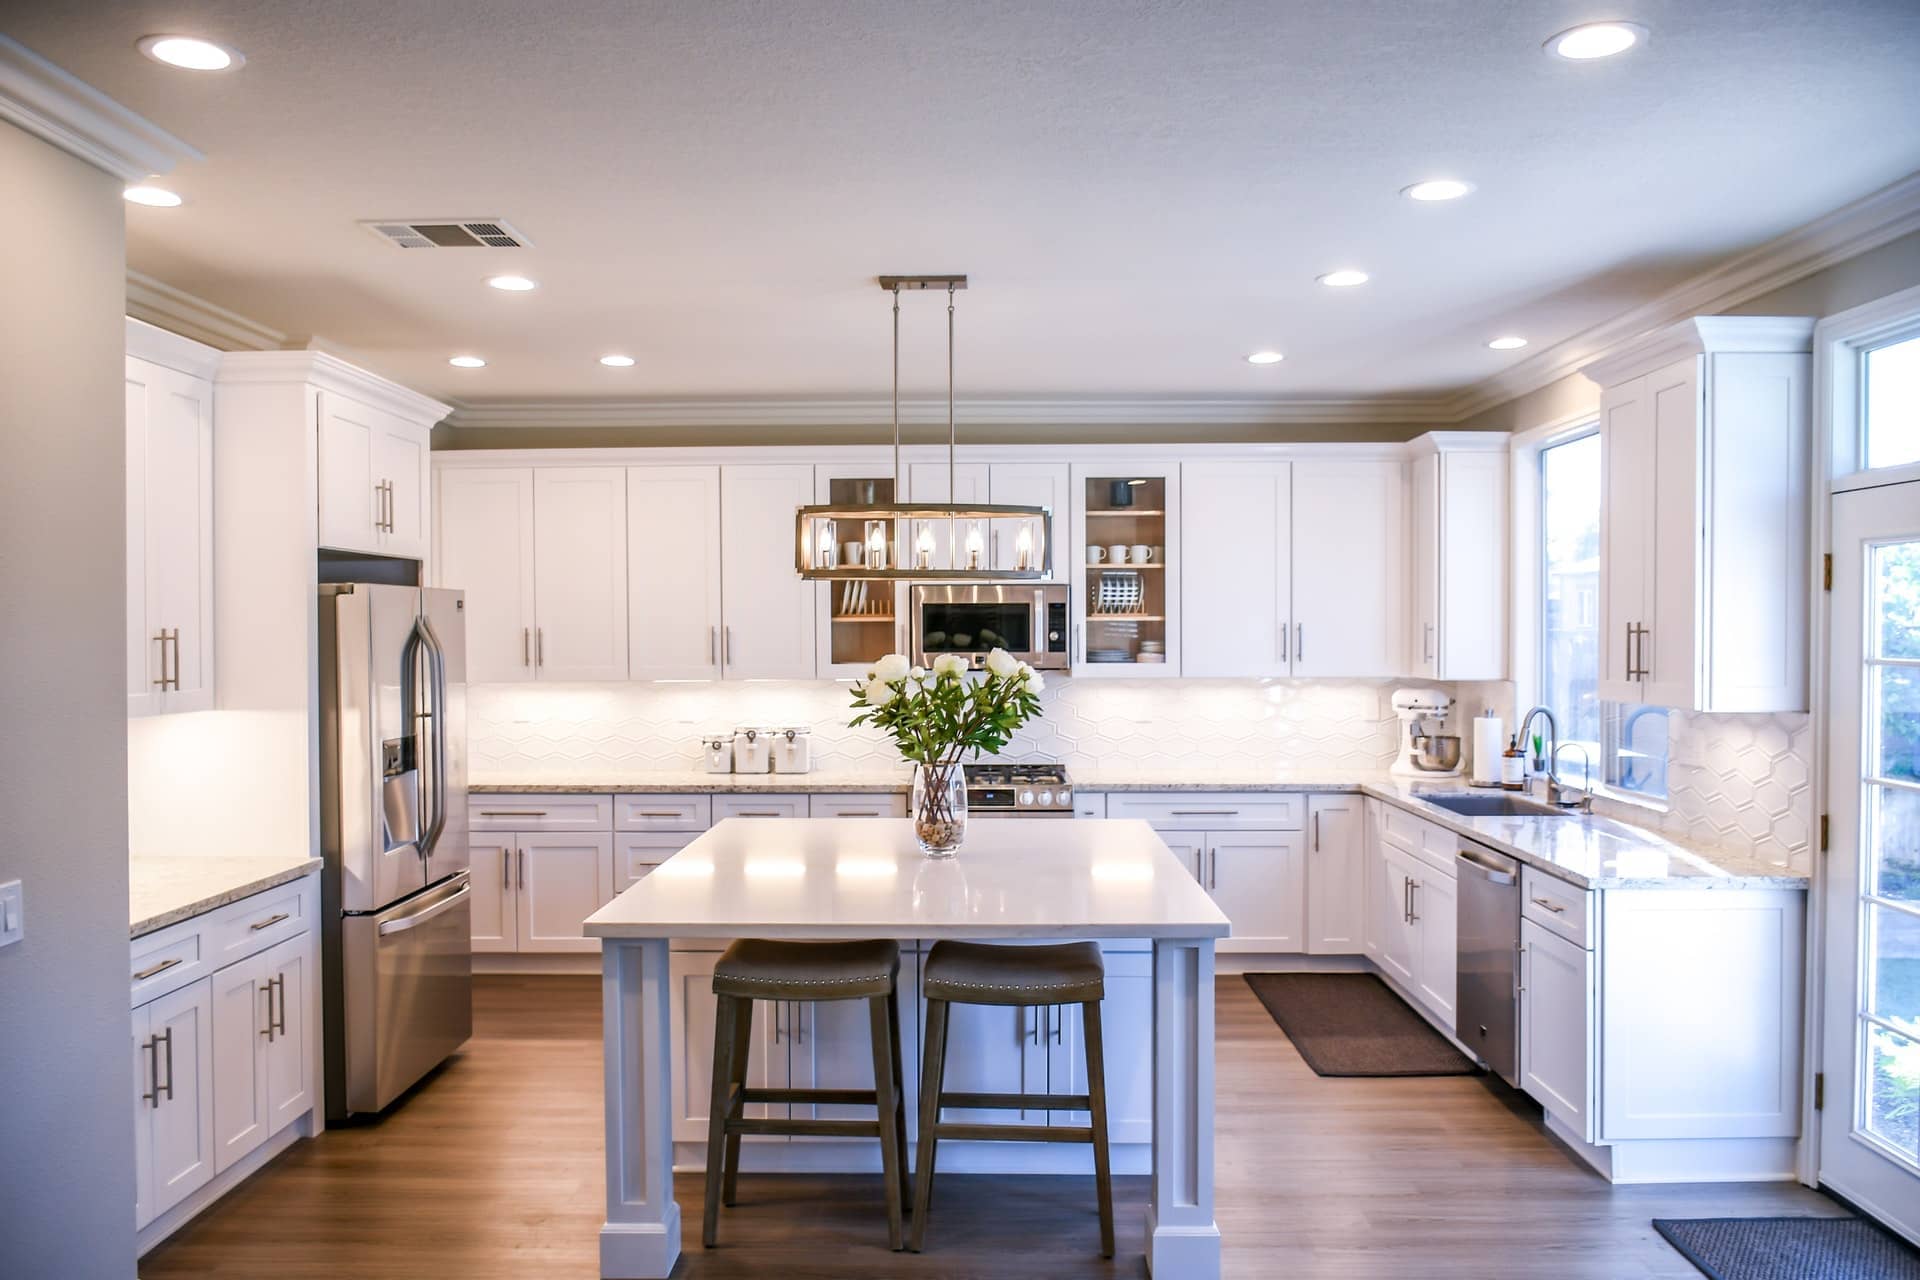
Cabinet refinishing: the highest-impact winter upgrade
A cabinet refinish transforms the feel of your kitchen without the demolition of a full remodel. Winter’s stable indoor climate helps finishes cure smoother and harder, especially when doors are sprayed flat in a controlled environment.
What a pro refinishing workflow includes
Degreasing, scuff-sanding, grain management (where needed), bonding primer that blocks tannin bleed, and spray-applied color and topcoat for factory-smooth results. Doors and drawers are labeled, removed, and sprayed horizontally; frames are masked and finished in place.
Colors that flatter winter light
Soft whites with warm undertones, greige, sage, or classic two-tone layouts (light uppers, deeper lowers) read beautifully in Chesterfield’s cool daylight. Pair them with brushed nickel for a quiet look or matte black for crisp contrast.
Hardware and hinge upgrades
New pulls, knobs, and soft-close hinges elevate the experience every time you open a door. For slab fronts, edge pulls deliver a minimal feel; for Shaker, cup pulls on drawers and simple knobs on doors remain timeless.
Explore cabinet-specific details and see how the process fits your home: Cabinet refinishing services.
Wood floor refresh: from dull to luminous
Winter’s drier air helps waterborne finishes hit their stride, and with windows closed there’s less airborne grit to land in fresh coats. You don’t have to do a full resand every time; many floors respond beautifully to a deep clean, light abrasion, and a new topcoat.
When a screen-and-recoat is enough
If your floors have light scratches and dull traffic paths but no deep gouges through to bare wood, a screen-and-recoat renews sheen and protection without changing color. The process is fast and keeps dust to a minimum.
When to refinish
If you see gray areas (finish completely worn off), deep dents, or historic ambering you want to neutralize, a full refinish—sand to bare wood, then stain and topcoat—makes sense. Matte and satin sheens are most forgiving in everyday light and pair well with today’s lower-sheen cabinets.
Humidity management protects your investment
Keep indoor RH around 40–45 percent to minimize board shrinkage and seasonal gaps. Felt pads on furniture feet and a “no high heels on fresh finish” rule during the first week protects against micro-dents.
For floor-specific approaches and repair options, start here: Floor restoration.
Simple sequencing to minimize disruption
Stage 1: Color decisions
Select wall palettes and cabinet color families at the same time so undertones align. Review large, hand-brushed samples under your home’s winter light (morning, midday, evening).
Stage 2: Painting first
Tackle ceilings and walls before floors and cabinets so any smudges or drips land on surfaces due for refinishing.
Stage 3: Cabinet refinishing
Doors and drawers head to the spray booth while frames get prepped and coated in place. Hardware layout is finalized and drilled after color coats cure.
Stage 4: Floors last
Protect freshly painted trim with tape, then screen-and-recoat or refinish floors. Keep heavy furniture off until finishes cure fully; use felt pads when moving items back.
Stage 5: Final touch-ups
Do a walkthrough in afternoon light to catch nick-and-ding touch-ups and caulk lines. This is when you’ll appreciate crisp corners and even sheen most.
Winter-friendly color moves that make rooms feel warm
Choose colors with a touch of warmth
Even “neutral” grays can read cold in low-angle winter sun. Add a hint of beige to keep spaces inviting. Soft whites with a warm undertone accommodate both stainless and black fixtures.
Create depth with lower cabinets, calm above
Two-tone kitchens make ceilings feel taller and keep the space bright. Darker lowers hide scuffs from shoes and pets; lighter uppers bounce light and open the room.
Connect adjacent rooms
Carry one trim color throughout a level and vary wall colors within the same temperature family. This prevents a patchwork effect and supports a higher-end, cohesive look.
Mind the sheen
Matte softens imperfect walls; eggshell and satin provide wipe-ability in hallways and family rooms; satin or semi-gloss on doors and trim protects high-touch surfaces.
Winter-specific prep that pays off
Dust and ventilation
Use HEPA vacs when sanding, seal returns, and run a box fan with a furnace filter pinned to the intake side to capture airborne dust during furniture moves.
Pet planning
Close off work zones and set up safe routes for quick trips outside. Hair and fresh coatings don’t mix, and paw prints can find wet finishes faster than you think.
Lighting checks
Winter’s lower sun angle highlights roller texture, lap marks, and patched areas. Tilt lamps to graze walls and inspect finishes as you go; small adjustments now save rework later.
Cure time discipline
Even quick-dry products need time to reach full hardness. Follow “dry to touch,” “recoat,” and “full cure” guidance so trim, doors, cabinets, and floors all reach lasting durability.
Questions to ask before you book winter work
- What temperature and humidity range do you maintain during coating and cure
- Which primers and topcoats will you use for low-odor winter work
- How do you protect HVAC, floors, and furnishings in closed-window conditions
- What is your plan for dust control and evening cleanup so rooms stay livable
- Can you coordinate cabinet hardware layout and floor protection to avoid rework
Clear answers build confidence—and a cleaner, faster project.
Ready to make your home shine before spring
Winter is the smartest window to transform the rooms you live in most. Crisp wall color, a cabinet refresh that feels custom, and floors that glow under evening light will change how your home feels every day. JT’s Painting & Renovations stages, protects, and sequences projects so you get beautiful results with minimal disruption—then you can coast into spring with the biggest upgrades already behind you.
Browse recent transformations for ideas in our project gallery, then tell us about your winter to-do list and timeline.